
How To Install LAMP Stack on Ubuntu
This tutorial covers an easy and step-by-step guide on how to install LAMP Stack on Ubuntu. While writing this tutorial, I used Ubuntu Server 18.04 LTE though this guide is equally useful in installing LAMP Server on Ubuntu 16.04 and 14.04 ...

6 min read
This tutorial covers an easy and step-by-step guide on how to install LAMP Stack on Ubuntu. While writing this tutorial, I used Ubuntu Server 18.04 LTE though this guide is equally useful in installing LAMP Server on Ubuntu 16.04 and 14.04 ...
- Introduction
- Step-by-step Guide to How to Install LAMP Stack on Ubuntu
This tutorial covers an easy and step-by-step guide on how to install LAMP Stack on Ubuntu. While writing this tutorial, I used Ubuntu Server 18.04 LTE though this guide is equally useful in installing LAMP Server on Ubuntu 16.04 and 14.04 with few adjustments (if required).
Introduction
A LAMP Stacks or LAMP Server (Linux, Apache, MySQL, PHP) is a group of open-source software that is used to host web content. LAMP Stack allows the creation and hosting of websites and web applications. This guide will show you how to install LAMP stack on Ubuntu 14.04 (LTS) server.
This LAMP stack guide is written for a non-root user. Commands that require root privileges are prefixed with sudo.
If you need to setup Linux, NGINX, MySQL, PHP, read LEMP Stack tutorial read:
How To Install Linux, Nginx, MySQL, PHP (LEMP Stack) on Ubuntu
Step-by-step Guide to How to Install LAMP Stack on Ubuntu
1. Prerequisites
Before you begin, update your server by running the following command:
sudo apt-get update && sudo apt-get upgrade
2. Install & Configure Apache
Install Using Tasksel
Instead of installing Apache, MySQL and PHP for LAMP Stack separately, you can conveniently install LAMP Stack with Tasksel.
If Tasksel is not installed on your server, run the following command:
sudo apt install tasksel
Now, use Tasksel to install LAMP Stack:
sudo tasksel install lamp-server
That's it!
But if you do not prefer installing bundled packages and want to install LAMP Stack on Ubuntu separately, you can follow the steps below.
Apache Install
Apache is a free open source software and it runs on more than 50% of the world’s web servers.
To install Apache on your server, just open the terminal and type the following commands:
sudo apt-get install apache2
Once you are done with Apache installation, edit the main Apache configuration file, apache2.conf, to configure the KeepAlive
setting:
Sudo vim /etc/apache2/apache2.conf
KeepAlive Off
The Default multi-processing module for Apache is the event module, but PHP uses the prefork module by default. You need to open the mpm_prefork.conf file located in /etc/apache2/mods-available and edit the configuration by running the following command:
sudo vim /etc/apache2/mods-available/mpm_prefork.conf
<IfModule mpm_prefork_module>
        StartServers            2
        MinSpareServers         6
        MaxSpareServers         12
        MaxRequestWorkers       39
        MaxConnectionsPerChild  3000
</IfModule>
Now, disable the event module and then we need to enable the prefork module by using the following command:
sudo a2dismod mpm_event
sudo a2enmod mpm_prefork
Finally, restart the Apache server:
sudo service apache2 restart
To check if Apache is installed correctly, enter the server's IP address in the browser (eg. http://123.45.67.89). The page should display “It works!" texts. In case you do not know the IP address of your server, run the following command:
ifconfig eth0 | grep inet | awk '{ print $2 }'
Apache Configuration
Once you are done with the installation and basic configuration. Now we need to configure Virtual Hosts, just like Server Blocks in NGINX. There are several ways to setup the Virtual Hosts for your website but I am going to show you the most recommended method.
You need to create a new configuration file for your website in the /etc/apache2/sites-available/ directory.
sudo vim /etc/apache2/sites-available/example.com.conf
Note: Replace example.com with your domain name.
<VirtualHost *:80>
     ServerAdmin admin@example.com
     ServerName example.com
     ServerAlias www.example.com
     DocumentRoot /var/www/html/example.com/public_html/
     ErrorLog /var/www/html/example.com/logs/error.log
     CustomLog /var/www/html/example.com/logs/access.log combined
     <Directory /path/to/public/website/>
        Require all granted
     </Directory>
</VirtualHost>
Now, Create the above-referenced directories:
sudo mkdir -p /var/www/html/example.com/public_html
sudo mkdir /var/www/html/example.com/logs
Now you need to link your virtual host file from the sites-available directory to the sites-enabled directory. It can be accomplished by running the following command:
sudo a2ensite example.com.conf
Finally, reload Apache:
sudo service apache2 reload
3. Install MySQL
MySQL is a database management system will be required for organising and retrieving data. It can be installed by using the following command:
sudo apt-get install mysql-server
During the MySQL installation process, you will be asked to set a root password. Choose a strong password and keep it in a safe place for future reference.
Harden MySQL Server
Hardening the MySQL Server using mysql_secure_installation script addresses several security concerns. This will remove anonymous users and test database to make your MySQL Server more secure. You can harden your MySQL Server using the following command:
sudo mysql_secure_installation
Now, you will have a choice to change the root password of the MySQL. It is highly recommended to remove the anonymous users and disable root logins outside of localhost. You can change your root password if you feel that it is weak. It is recommended that you answer yes to the other options as it will harden your MySQL.
The MySQL database software is now installed and well configuration. Now you are ready to go.
MySQL Root Login
To log into MySQL as the root user:
mysql -u root -p
Now you get an option where you can enter the root password that you assigned earlier when the mysql_secure_installation script was run.
Create a MySQL Database
Now create a database for your website and assign a user with permissions to it. In this example, I have taken the domain name as a database name i.e., example, the user example-user and password example-password:
create database example;
grant all on example.* to 'example-user' identified by 'example-password';
Finally, Exit MySQL:
quit
4. Install PHP for Processing
Now we are done with Apache and MySQL installation. We need to connect all these things together to generate a dynamic website. For that processing purpose, we need to install PHP.
PHP, PHP Extension and Application Repository can be installed using the following command:
sudo apt install php7.2 libapache2-mod-php7.2 php-mysql
Optionally, you can also install additional cURL, JSON, and CGI support by running:
sudo apt install php-curl php-json php-cgi
Once PHP5 is installed, we need to make some configuration inside /etc/php/7.2/apache2/php.ini to enable more detailed error reporting, logging, and performance. Open the terminal and run the following command:
sudo vim /etc/php/7.2/apache2/php.ini
Now make sure these lines are uncommented and follow these setting:
error_reporting = E_COMPILE_ERROR|E_RECOVERABLE_ERROR|E_ERROR|E_CORE_ERROR
error_log = /var/log/php/error.log
max_input_time = 30
Now we need to create a log directory for PHP and assign permission to the Apache system user:
sudo mkdir /var/log/php
sudo chown www-data /var/log/php
Reload Apache:
sudo service apache2 reload
Congratulations! You have successfully installed and tested LAMP Stack installation. Now you will be able to host PHP based website using Ubuntu, Apache Web Server, PHP and MySQL.
Hope you will find this tutorial useful on how to install LAMP Stack on Ubuntu useful.
You may also refer to the official server guide by Ubuntu.
If you find any difficulty during LAMP Stack installation, feel free to send me an email at rajesh.rai@websitevidya.com or put query in the comment section below.
Website Vidya Team
Technology educator and researcher at Website Vidya.
Related Technical Guides
Tested runbooks, server administration walkthroughs, and troubleshooting guides
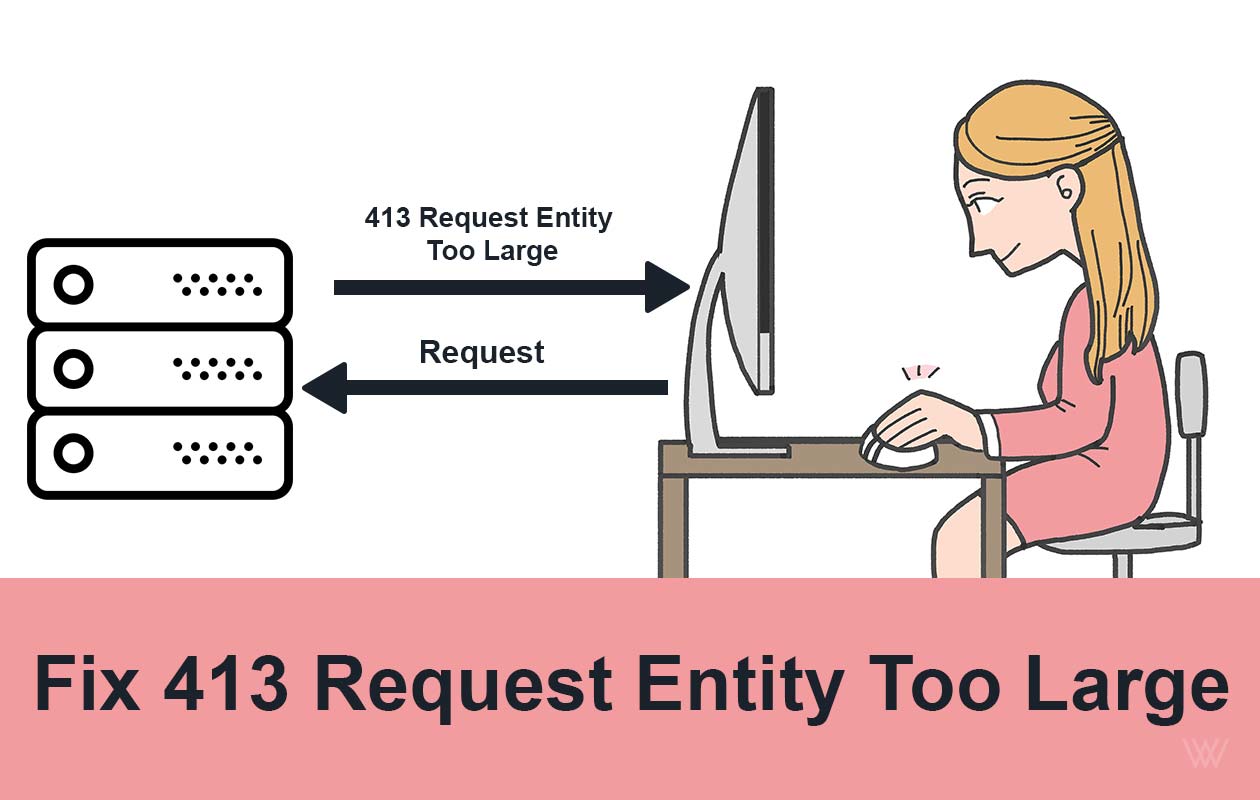
Fix 413 Request Entity Too Large Error on Nginx & Apache
Ever tried uploading a file or submitting a form, only to be greeted by the frustrating 413 Request Entity Too Large error? You’re not alone. This issue commonly pops up when your server thinks the data you’re sending is “too big” to handle...

How to Fix 413 Request Entity Too Large Nginx Ubuntu
How to fix 413 request Entity too large Nginx Ubuntu error? In the high-stakes world of web development and server administration, few errors are as simultaneously straightforward and frustrating as the HTTP 413 "Request Entity Too Large" e...
How to Fix 429 Too Many Requests Nginx Error: 10 Easy Ways
The "429 Too Many Requests Nginx" error is a common issue faced by web administrators and developers. This error occurs when a user sends too many requests to a server in a given amount of time, and the server responds with a 429 status cod...

How to Fix 414 URI Too Large Nginx Error: 8 Easy Steps
The 414 URI Too Large Nginx error is a common issue that occurs when the length of a URL exceeds the default limit set by the Nginx web server. This error can disrupt user experience and prevent access to your website or application. In thi...

How to Fix 404 Not Found Nginx Error: 20 Easy Ways
The "404 Not Found Nginx" error is a common issue that website administrators and developers encounter when using the Nginx web server. This error indicates that the server is unable to locate the requested resource, which could be a webpag...
How to Fix 400 Bad Request Error: 10 Easy Ways
Encountering an HTTP error can be frustrating, especially when the cause is unclear. One such error is the "400 Bad Request Error". This issue typically arises due to client-side problems, including incorrect syntax, invalid requests, or la...
How to Fix Error 520: Web Server Is Returning an Unknown Error
How to Fix Error 520? It's a frustrating and complex error code. It indicates that the web page is not reachable. There could be several reasons behind this error code 520. This article covers, what this error code means, why it occurs and ...

How to Install Lighttpd on Ubuntu 20.04 LTS - 5 Easy Steps
Introduction Lighttpd is a free, open-source web server which is also known as Lighty. It is a fast, secure, compliant, and extremely flexible webserver optimized for speed. Compared to other web-servers, Lighttpd consumes very less server ...

How to Increase File Upload Size in Nginx - 3 Simple Steps
By default, the maximum file upload size in NGINX is 1MB. If a user tries to upload a file bigger than this, the Nginx throws a “ 413 Request Entity Too Large ” error. So in this tutorial, we will learn how to increase file upload size in N...

How to Install Nginx on CentOS 7: 4 Easy Steps
Nginx is a high performance web server software. Many big brands like Google, Facebook, Microsoft, Apple, Yahoo! and LinkedIn prefers Nginx over Apache and any other web server. And why not, it is the most flexible and lightweight web serve...
Discussion
0No comments on this guide yet. Be the first to share your thoughts or ask a question!