Do you want to embed SVG in the WordPress website? Learn how to upload SVG to WordPress effortlessly with 3 simple methods. Enhance your website with captivating graphics. This how-to guide is for all levels.
By default, the WordPress content management system allows you to add multiple image formats .jpg, .jpeg, .png, and .gif. However, it doesn’t enable you to use scalable vector graphics (SVG) which is one of the most loved image formats in modern-day website development. Fortunately, learning how to embed SVG graphics in WordPress is quite simple.
What is SVG?
SVG or scalable vector graphics is an image format. An XML markup language is used to create two-dimensional vector graphics. It has numerous advantages over image formats like JPG, PNG, or GIFs. For example:
- They take up very little space: The SVG images are very light. Simply, because it is composed of two-dimensional vectors. On the other hand, image formats like JPG are raster images and they are composed of pixels. These SVG images help your website load faster.
- Images are scalable: This is one of the best things I like about SVG images. The regular image formats like JPG, PNG or GIFs look terrible if you scale them above their original resolution. There is no such limitation with SVGs. You can scale these images upwards or downwards without any loss in quality or change in the file size.
- SVG has a great animation option with CSS: This is one of the cool features for those who like to play with CSS and animations to make some cool and unique effects to attract visitors.
How to Upload SVG to WordPress – 3 Easy Methods
I have included 3 easy methods to embed SVG in WordPress. The first method includes the SVG support plugin which is free and easy to use with few clicks.
The second, method also includes the use of a Freemium Plugin Safe SVG Plugin.
For those who don’t like populating their site with plugins, the third and final method is for them. In this process, you just need to copy-paste 5-6 lines of code in the functions.php file of your website’s theme.
So let’s get started with the first method:
Method 1: Use the SVG Support plugin
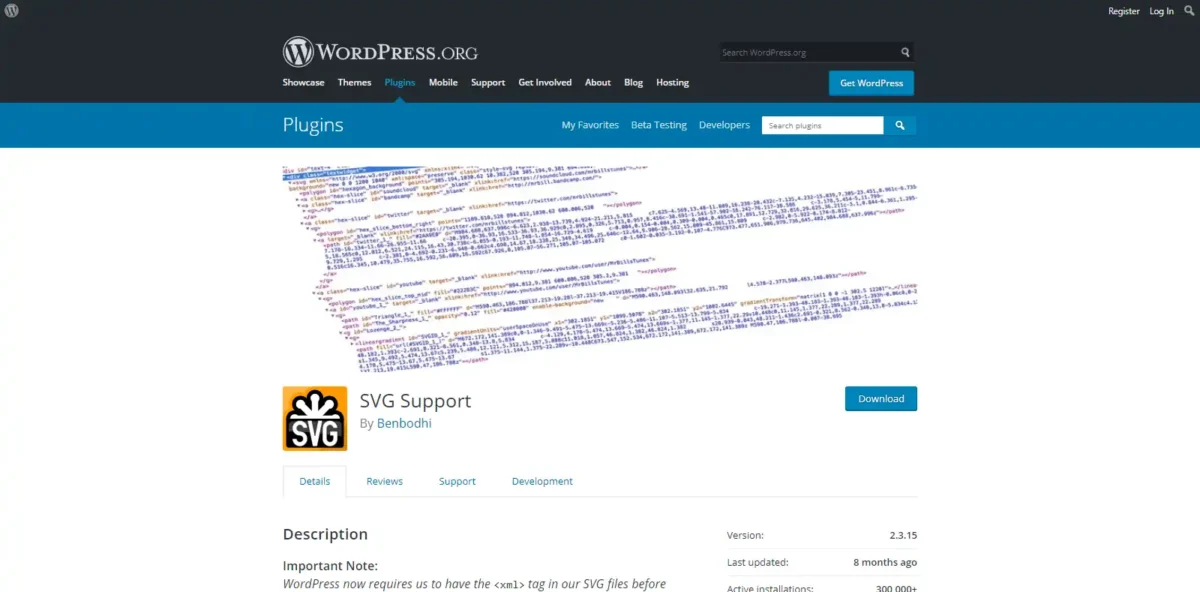
If you’re looking for the fastest way to add SVG images to your WordPress-based website, you just need to install the SVG Support Plugin WordPress plugin.
Navigate to Plugins > Add New
In the WordPress plugin directory, search “SVG Support Plugin”.
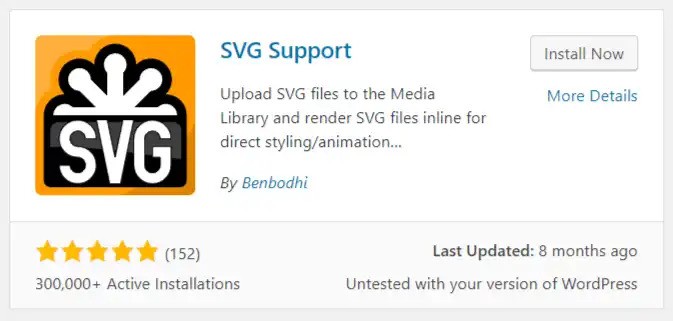
Click Install Now.
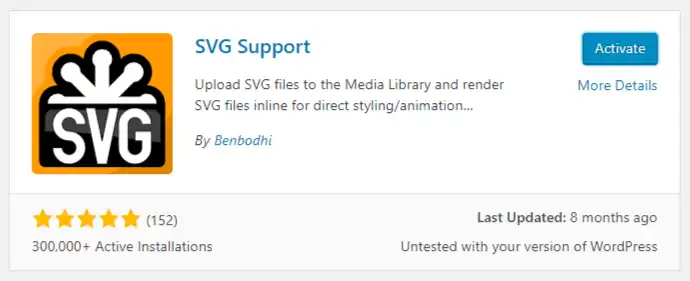
Now activate the plugin.
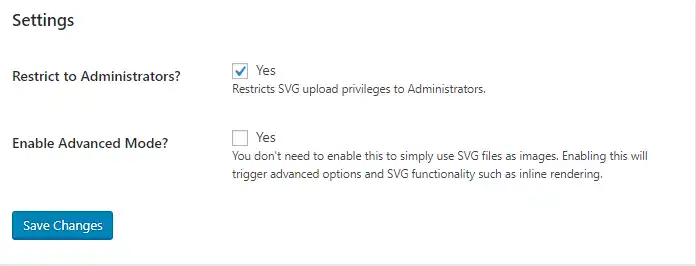
Upon activation, visit the Settings » SVG Support page to configure plugin settings.

On the SVG Support settings page, check the box next to “Restrict to Administrators”?
Method 2: Use Safe SVG Plugin
This method also uses a plugin called “Safe SVG“.
Just like the previous method, install and activate the Safe SVG plugin.
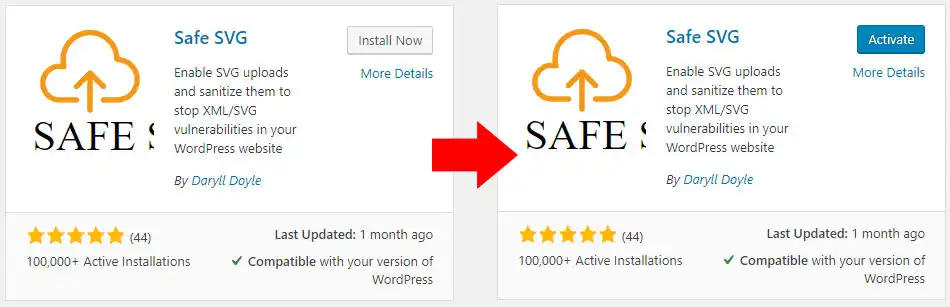
This is a great plugin that works out of the box. There are no settings or configuration options for this plugin. All you need is to install and activate the plugin to start uploading SVG files.
The only drawback of this plugin I see is that Safe SVG allows SVG uploads by all the users who are authorized to write posts on your WordPress.
In order to control who can upload SVG images to your website, you need to purchase the premium version of the plugin.
Method 3: Modify functions.php File
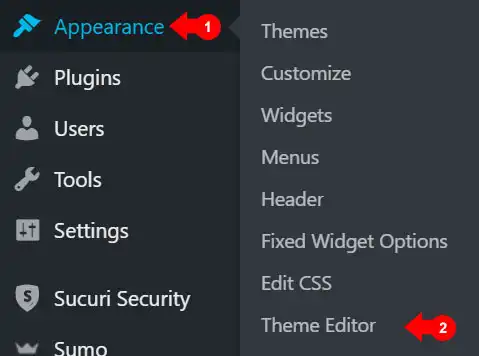
All you need is to navigate to Appearance » Theme Editor
Access the functions.php file and copy-paste the following code.
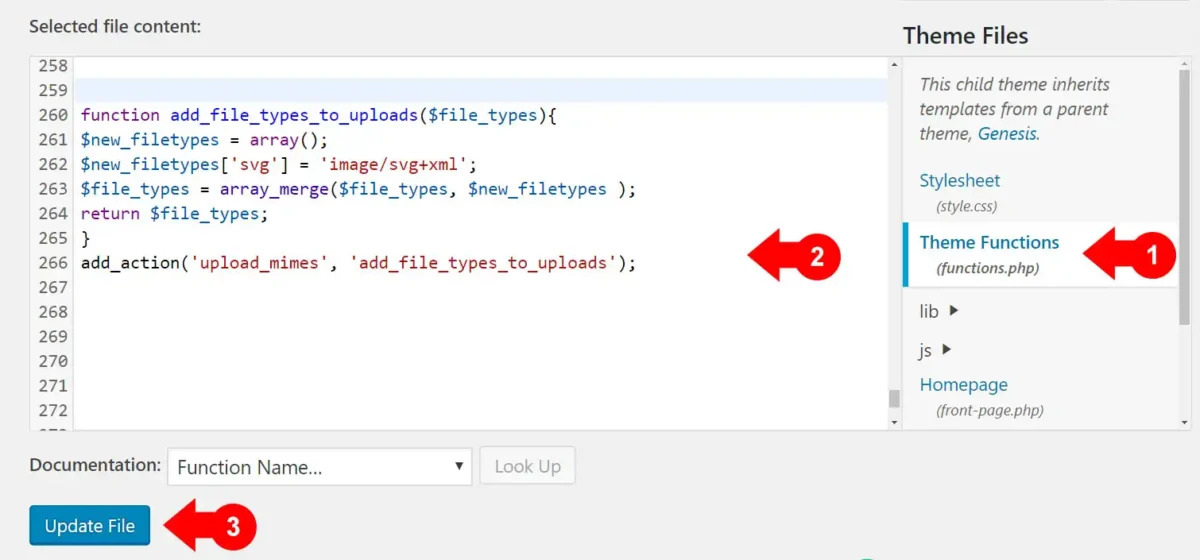
function add_file_types_to_uploads($file_types){
$new_filetypes = array();
$new_filetypes['svg'] = 'image/svg+xml';
$file_types = array_merge($file_types, $new_filetypes );
return $file_types;
}
add_action('upload_mimes', 'add_file_types_to_uploads');
You may also like: 15 Effective Ways to Speed Up WordPress Website
Conclusion
In conclusion, mastering the art of embedding SVGs into your WordPress website empowers you to add a touch of dynamism and creativity to your online presence. Throughout this guide, we’ve delved into three accessible methods that cater to varying levels of technical expertise and preferences.
Method 1, employing the SVG Support plugin, offers a seamless and hassle-free way to incorporate SVG files into your content. Its user-friendly interface and automatic sanitization ensure a smooth experience, even for those less familiar with coding intricacies.
Method 2 introduces the Safe SVG Plugin, a dedicated solution for enhancing security while integrating SVGs. Its rigorous validation processes and ability to strip potentially harmful code make it an invaluable tool for safeguarding your website against potential threats.
For those with a penchant for coding customization, Method 3 provides the option to modify the functions.php file. This method grants you more granular control over SVG integration, enabling tailored adjustments to suit your specific design and functional requirements.
As you start off your journey of SVG integration, remember to strike a balance between creativity and security. Regularly update and audit your plugins, sanitize SVG files diligently, and test compatibility across various browsers and devices to ensure a consistent user experience.
By embracing these methods, you’re equipped to infuse your WordPress website with the captivating charm of SVGs, transforming it into a captivating canvas of visual expression. Whether you’re an adept coder or a design enthusiast, these methods open doors to endless possibilities, ushering in a new era of engaging and interactive web content.
Thank you for taking the time to read this article on embedding SVG in WordPress. I hope you found the information and methods presented here helpful in enhancing your website’s visual appeal and interactivity.
If you have any questions, suggestions, or personal experiences to share regarding SVG integration or WordPress customization, please feel free to leave your feedback in the comments section below. Your insights can contribute to a collaborative learning environment and help fellow readers make the most out of their WordPress journey.